


.jpg?cropw=4096&croph=2654.2479700187387&cropx=9.695217308093677e-13&cropy=76.7520299812622&cropmode=pixel#)


.tif?cropw=4036.303976681241&croph=2705.4159900062464&cropx=59.69602331875912&cropy=25.584009993753906&cropmode=pixel#)
.jpg?cropw=4096&croph=2978.1919633562356&cropx=0&cropy=93.80803664376384&cropmode=pixel#)


.jpg?cropw=2733&croph=2733&cropx=636.5439718837721&cropy=0&cropmode=pixel#)


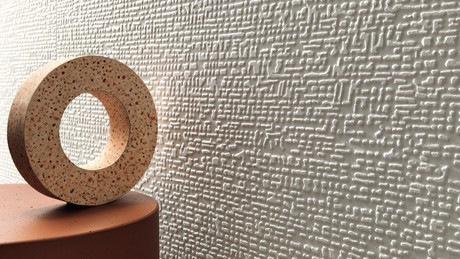
Теплый и современный известняк с сильным внешним призванием и новой настенной плиткой 3D

10 драгоценных и редких мраморов, отличающихся яркими, глубокими цветами с ярко выраженной индивидуальностью

Непревзойденный эффект бетона, созданный Элизой Оссино

Tratto
Signature objects by Piero Lissoni

Все новинки от бренда Atlas Concorde, который специализируется на производстве больших размеров.

Все коллекции от бренда Atlas Concorde, специализирующегося на производстве элементов мебели.


