


.jpg?cropw=4096&croph=2654.2479700187387&cropx=9.695217308093677e-13&cropy=76.7520299812622&cropmode=pixel#)


.tif?cropw=4036.303976681241&croph=2705.4159900062464&cropx=59.69602331875912&cropy=25.584009993753906&cropmode=pixel#)
.jpg?cropw=4096&croph=2978.1919633562356&cropx=0&cropy=93.80803664376384&cropmode=pixel#)


.jpg?cropw=2733&croph=2733&cropx=636.5439718837721&cropy=0&cropmode=pixel#)


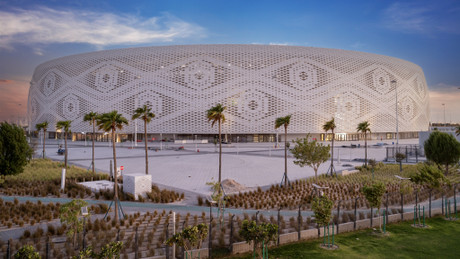
Warm and modern Limestone with a strong outdoor vocation and new 3D wall tiles

10 precious and rare marbles featuring vivid, deep colors with strong personalities

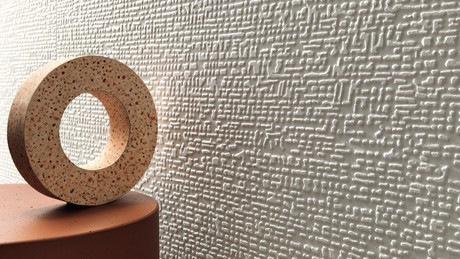
Unmatched concrete effect curated by Elisa Ossino

Tratto
Signature objects by Piero Lissoni

All the novelties from Atlas Concorde brand that specialises in the production of large sizes.

All collections from Atlas Concorde brand specialised in furniture elements.


